|
|
|
|
|
|
|
Pfarrout Graphics Inc. |
|
|
|
|
So many toys, so little time... |
|
|
|||||||||
| |||||||||||||||||||||
|
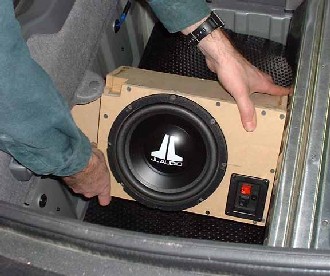
The Insight Sound SystemNew! See my system on the Polk Audio customer Install pages. One of the recurring themes about the car is that it is a technology showcase. Everything on the car was engineered to be the best. I believe as an inside joke Honda installed without a doubt the worst sounding cassette stereo anyone has ever heard in a car. My 1960 Rambler had a better sounding radio. So naturally with nothing else to do on the car (There is no maintenance other than oil changes) everyone replaces the speakers and the radio immediately. Mine took about 2 days tops before I could not stand it any more. I put in a JVC Kameleon radio with cool digital displays, Polk component speakers for the front with separate tweeters (just drill right into the door panels!!). The topper is supplied by a group of enthusiasts who developed an inspired subwoofer design that the real Insight engineers would be proud of. It consists of a mounting plate for the amplifier under the passenger seat, a specially designed and hand crafted subwoofer box that fits in an unused area under the rear hatch area and an installation that requires NO drilling or hole cutting. I installed it on 5/22/01. The following is my experience with the installation: I received the unit on 5/16/01 shipped UPS ground from Oregon to Maryland. I have verified with John Wayland that my shoebox sub is the fifth unit that Geoff and John assembled. The box arrived in perfect condition with a great packing job by John Wayland. I was very pleased with the workmanship and quality of the components supplied. The amp mounting plate (by Frank the metal god) is a work of art. Of course I was on a vacation trip when the package arrived and was not able to work on the installation until 5/22/01. Using posts on the Insight group as a guide I successfully installed the whole package in about 4 hours. The steps I took were as follows:
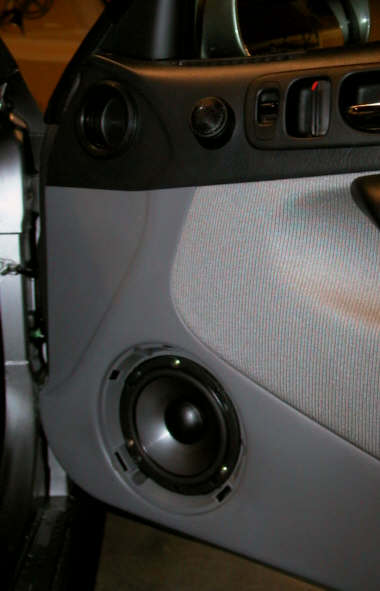
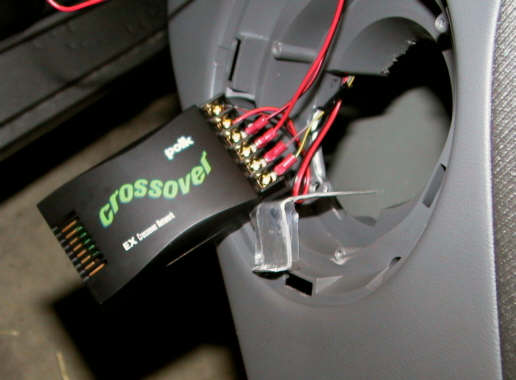
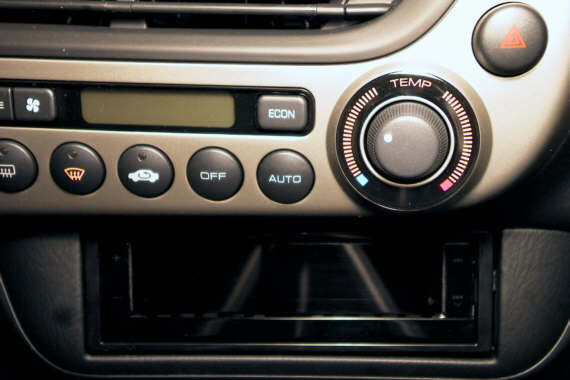
All in all I would like to thank John Wayland, Geoff Sheperd and Frank TMG for a fantastic product. I have enjoyed reading about their efforts, waiting patiently for production, enjoying the installation process and finally realizing some great sound. I can't think of anything else to do now to the system. I would recommend getting this setup to anyone with the skills to do the installation. It's not hard just take it step by step and think it through. Check everything twice before applying power. It can work the first time without any problems. New Polk replacement speakers (EX 2650) In the left picture the tweeter is next to the window and door controls. In the right picture the crossover is shown with an aluminum bracket I made to hold the crossover box hard against the door panel just below the speaker opening. It's held with a screw and nut. Note that the back of the speaker opening was cut to fit the deeper speaker than the stock (by about 1/4 inch). This still clears the window when it is fully open which drops right behind the speaker. The new JVC LX10 "Kameleon"
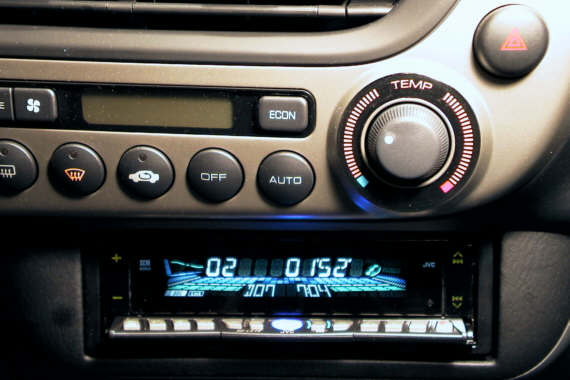
In the left picture the unit is off and on the right it is turned on with a CD playing.
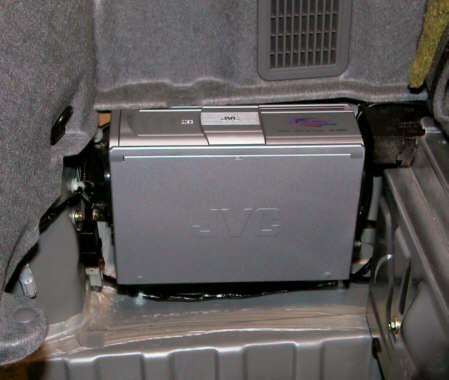
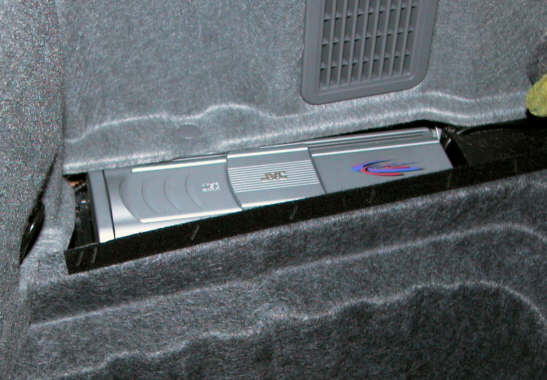
The 12 disk JVC CD box in the rear cargo area. On the right the cargo bin in place and the flap lifted up. There is adequate room to change the cartridge. I used the stock JVC plastic mounts which are screwed into the wheel well. Only one screw protrudes into the outside wheel well area which I sealed with a bit of caulk.
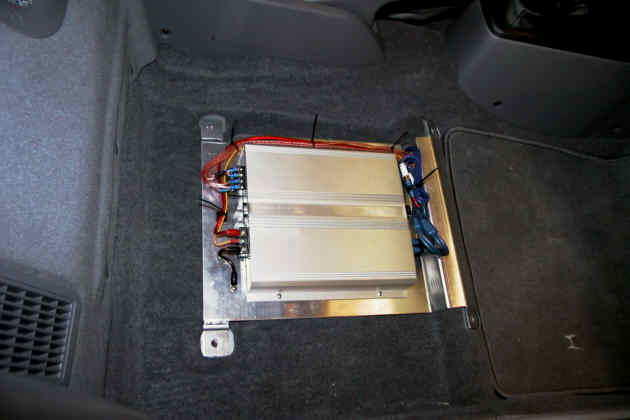
The amplifier plate and Eclipse amp fit perfectly and neatly under the passenger seat.
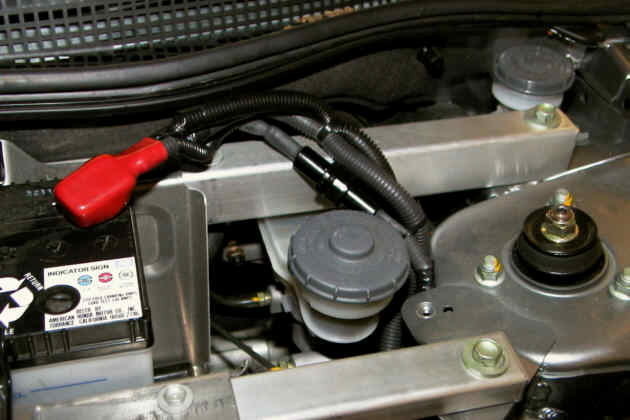
The main fuse connection to the secondary battery is show here. John Wayland put together the very professional looking components for the power wiring.
Here is a picture from Geoff Shepards page of the subwoofer prototype. The production unit is painted grey and does not use screws for the assembly:
|
|
|